
Winter poses the sternest test for any vehicle. Moisture seeps into the smallest gaps, road salt accelerates corrosion, and temperature fluctuations stress every surface—from the chrome brightwork on a classic Jaguar to the exposed carbon fibre on a modern McLaren. Whether your collection includes classic or supercars, a proper winter car storage checklist isn’t optional—it’s essential to preserving both value and beauty.
At Windrush, we’ve spent two decades refining winter car storage protocols across both our Cotswolds and London facilities. This guide distils that experience into practical steps you can follow, whether you’re preparing vehicles for home storage or entrusting them to professional care. The materials found on classics and supercars demand different approaches, but the principle remains the same: meticulous preparation now prevents expensive repairs later.
Why Winter Is the True Test for Your Car's Finish
Winter doesn’t damage cars through dramatic events—it’s the relentless accumulation of small insults that causes harm. Condensation forms on cold metal surfaces. Salt residue draws moisture. Rubber seals contract, allowing damp air inside. Chrome develops surface pitting. Untreated leather dries and cracks. Even modern ceramic coatings, while robust, benefit from proper pre-storage preparation.
The distinction between summer use and winter storage is significant. During regular use, your car’s systems cycle: the engine warms and evaporates moisture, tyres flex and disperse weight, brake discs clean themselves through friction. In storage, everything remains static. Moisture that would normally evaporate lingers. Weight concentrates on tyre contact patches. Brake discs can bond to pads. Fuel degrades. Battery charge depletes.
Store incorrectly and you risk emerging to tarnished chrome, microblistering on paintwork, musty interiors, and mechanical issues that could have been entirely prevented. The good news? A systematic approach addresses all these concerns.
The Complete Winter Car Storage Checklist
Step 1: Deep Clean and Decontaminate Before Storage

Never store a dirty car. This isn’t about aesthetics—it’s about chemistry. Road grime contains salts, industrial fallout, and organic material that continue damaging surfaces even when your car sits still. That innocent-looking water spot? It’s actually a concentrated deposit of minerals that can etch through clear coat over months.
The washing protocol:
Begin with a thorough two-bucket wash using pH-neutral car shampoo. This is non-negotiable for both classics and modern vehicles. Aggressive alkaline cleaners may strip protective waxes on traditional paint, while acidic products can dull carbon fibre’s clear coat finish.
Follow with clay bar treatment across all painted surfaces. This removes embedded contaminants—think industrial fallout, tree sap, tar—that washing alone cannot shift. Your hand should glide across the paint afterwards with zero resistance. For carbon fibre body panels, use extra lubrication and gentle pressure; you’re protecting the clear coat layer, not the carbon weave beneath.
Chrome requires special attention. Use dedicated chrome cleaners that won’t scratch the plated surface. Inspect closely with good lighting—any pitting or dullness now will only worsen over winter. For show-quality chrome, consider a metal polish followed by protection (we’ll cover this in Step 2).
Complete drying is critical. Compressed air helps remove water from panel gaps, badges, door shuts, and fuel filler areas—anywhere moisture can hide. For cars with complex aerodynamic elements or carbon fibre splitters, methodical drying prevents water spots and ensures no moisture remains trapped.
Allow 2-3 hours for this stage on a typical sports car; more for vehicles with intricate details or extensive chrome trim.
Step 2: Protecting Paint and Chrome from Moisture and Salt

With surfaces decontaminated, now apply protection appropriate to your car’s finish.
For traditional single-stage or clear-coated paint:
High-quality carnauba wax provides excellent barrier protection for storage periods. Apply in thin, even layers and allow proper curing time—typically 20-30 minutes before buffing. The resulting barrier repels moisture and provides some defence against dust accumulation. For winter storage exceeding three months, consider a synthetic paint sealant instead. Modern polymer sealants bond more durably than wax and don’t degrade as quickly in static conditions.
For ceramic-coated vehicles:
Ceramic coatings actually prefer regular use—they’re designed to stay clean through hydrophobic properties that work best when rain and washing regularly refresh the surface. Storage presents a different scenario. Before storage, perform a maintenance wash specifically for coated vehicles (pH-neutral, no waxes or additives that can layer over the coating). Consider applying a ceramic coating topper or booster spray. These products reinforce the hydrophobic layer and provide additional protection during the static storage period.
Avoid the temptation to apply traditional wax over ceramic coatings. This can interfere with the coating’s properties and create an inconsistent finish that’s difficult to correct later.
Chrome and brightwork protection:
Chrome plating on classics requires different treatment than modern decorative trim. Authentic chrome plating is actually quite thin—typically just 0.025mm over nickel and copper layers. Once compromised, moisture reaches the underlying metals and causes lifting and pitting.
After cleaning, apply a thin film of light mineral oil or dedicated chrome preservative. Avoid heavy greases which can trap moisture rather than repel it. For chrome wheels, ensure the rears of the spokes receive protection too—this area often shows damage first due to road spray and salt accumulation during use.
Modern vehicles typically use chrome-effect plastic or PVD (Physical Vapour Deposition) chrome, which is more durable but still benefits from a protective wax or sealant application.
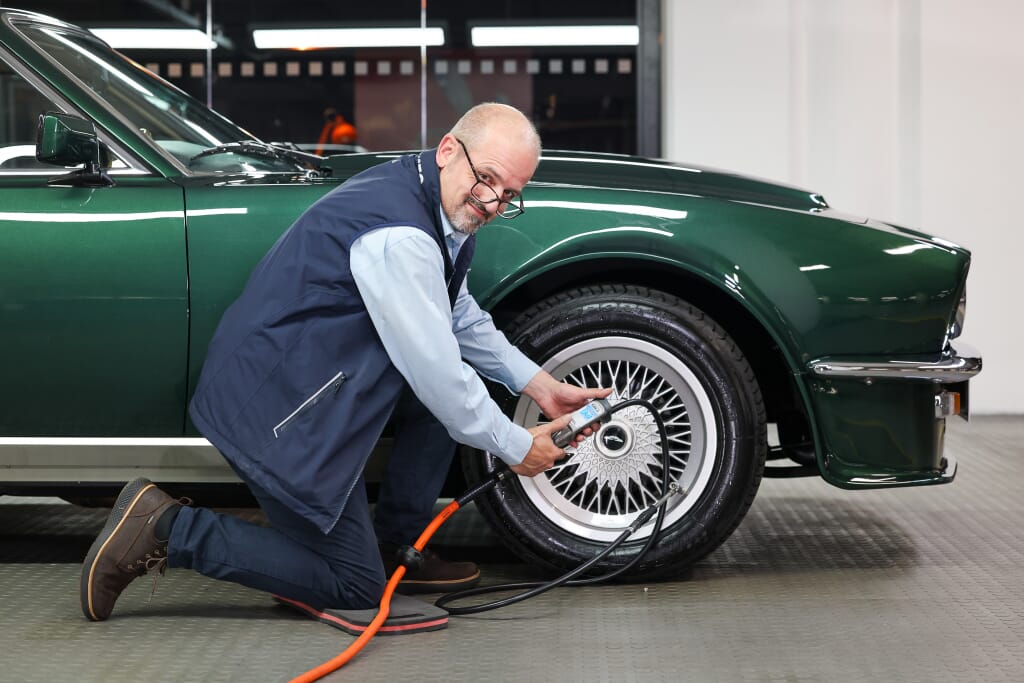
Wheel and tyre care:
Over-inflate tyres slightly (by 5 PSI) to compensate for natural pressure loss during storage. This reduces flat-spotting on the contact patch. If storing for extended periods, consider tyre cradles or raising the vehicle slightly to remove weight from the tyres entirely.
Clean wheels thoroughly, including inner barrels where brake dust accumulates. Apply wheel sealant or wax. For cars with carbon ceramic brakes, avoid getting product on the brake discs themselves—contamination can affect braking performance.
Step 3: Carbon Fibre and Ceramic Coat Aftercare
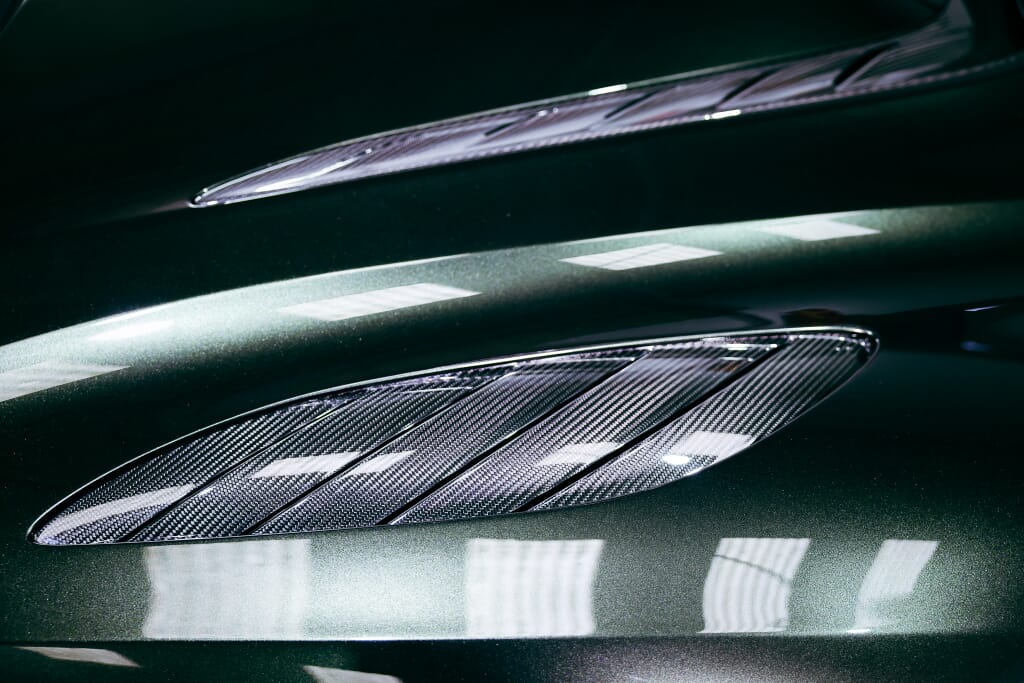
Carbon fibre has become ubiquitous on modern performance cars—splitters, mirrors, roof panels, interior trim. Despite its exotic reputation, carbon fibre itself is remarkably durable. What you’re actually protecting is the clear coat layer that seals and protects the carbon weave.
The clear coat vulnerability:
UV exposure is carbon fibre’s primary enemy during use, causing yellowing and haziness in the clear coat over time. During winter storage, the threat shifts to chemical contamination and physical abrasion from inappropriate covers or cleaning.
Clean carbon fibre components with the same pH-neutral products used on painted surfaces. Avoid silicone-heavy “dressings” that promise gloss—these can create buildup that dulls the finish and attracts dust. Instead, use dedicated carbon fibre sealants or ceramic coating boosters that provide a clean, protective layer.
For cars with extensive exposed carbon bodywork, document the condition photographically before storage. This creates a baseline for comparison and can prove valuable for insurance purposes if any damage occurs. Our guide to carbon fibre aftercare provides comprehensive detail on maintaining these specialised surfaces throughout the year.
Temperature considerations:
Carbon fibre’s resin matrix can become brittle in extreme cold (below -20°C), though this is rarely a concern in UK storage conditions. More relevant is avoiding dramatic temperature swings, which can cause microscopic stress in the clear coat. Climate-controlled storage eliminates this risk entirely.
Step 4: Interior Detailing for Leather, Alcantara, and Trim

Interiors deteriorate surprisingly quickly in storage. Without regular air circulation, moisture accumulates. Leather dries and cracks. Alcantara can develop mildew. Rubber and plastic trim can degrade or become sticky.
Leather care:
Vacuum thoroughly, including seat bases where debris accumulates. Clean leather with a pH-balanced leather cleaner to remove oils, salts, and dirt. This step is essential—conditioning dirty leather simply seals contamination into the hide.
Once clean and dry, apply a quality leather conditioner. This replenishes natural oils and provides a protective barrier. For aniline or semi-aniline leather (the high-quality, lightly finished leather found in premium vehicles), use conditioners specifically formulated for these delicate finishes. Heavily pigmented “protected” leather is more forgiving.
For classic cars with original, aged leather, consider a specialist leather preservation treatment. These differ from standard conditioners and are designed for hides that have already begun showing patina.
Alcantara and suede:
Brush Alcantara with a soft brush to raise the nap, then vacuum. Avoid liquid cleaners unless necessary—Alcantara’s synthetic suede construction can show watermarks. If cleaning is required, use Alcantara-specific products and follow with careful drying and brushing to restore the nap.
Plastic and trim:
Wipe all plastic and trim surfaces with a damp microfibre cloth. Avoid dressing products that leave residue—these can off-gas in enclosed storage and create a film on glass and mirrors. For dashboard and door cards, a very light application of UV protectant spray is acceptable, but less is more.
Odour prevention:
Place moisture absorbers (silica gel packets or dedicated car dehumidifiers) in the cabin. Avoid fabric air fresheners which can leave stains if they contact surfaces. Consider leaving a small gap in one window (if security permits) to allow minimal air circulation—just 5-10mm is sufficient.
Step 5: Final Inspection and Storage Setup

Mechanical preparation:
Fill the fuel tank to prevent condensation forming in the tank, and add fuel stabiliser to prevent degradation. Run the engine for a few minutes to circulate the treated fuel through the system.
Change oil before storage if you’re approaching a service interval—used oil contains acids and contaminants you don’t want sitting in contact with engine components for months. Fresh oil provides better protection.
Ensure coolant is topped up with the correct concentration of antifreeze. Check brake fluid levels—low fluid can indicate worn pads or leaks that should be addressed before storage, not discovered in spring.
Battery management:
For storage exceeding six weeks, connect a quality battery conditioner (not a simple trickle charger—modern conditioners monitor and maintain optimal charge without overcharging). Alternatively, disconnect the battery entirely, though this can reset electronic systems and require recoding upon reconnection.
The storage environment:
If you’re storing at home, choose the driest, most stable environment available. Attached garages are preferable to detached—they benefit from home heating and have less dramatic temperature swings. Ensure the space is clean, well-ventilated, and secure.
Use a high-quality, breathable car cover that’s specifically sized for your vehicle. Cheap universal covers can do more harm than good—they trap moisture and their loose fit allows movement in air currents, which abrades paint. Custom-fit cotton or synthetic covers with soft inner linings provide protection without risk.
Position the cover carefully to avoid contact with exhausts, aerodynamic elements, or carbon fibre components that could be stressed or marked. Some collectors prefer not to use covers for climate-controlled indoor storage, instead keeping cars exposed but dust-free through environmental control.
Storage positioning:
Avoid parking on bare concrete if possible—concrete can draw moisture. Use a breathable mat or raised tiles. Ensure tyres sit on clean, dry surfaces.
If storing multiple vehicles, allow adequate space between them—not just for access, but to ensure air can circulate freely. Cramped storage creates pockets of stagnant, humid air.
The monthly check-in:
Don’t simply close the door until spring. Monthly inspections catch problems early:
- Check beneath the car for leaks (oil, coolant, fuel)
- Verify tyre pressures and inflate if needed
- Inspect the cover for shifting or moisture accumulation
- Look for signs of pests (droppings, nesting material)
- Check battery voltage if accessible
- Open doors and boot to allow air exchange
Resist the temptation to start the engine unless you can bring it to full operating temperature and take a meaningful drive. Short running without proper warm-up creates condensation in the exhaust system and doesn’t properly circulate fluids.
Windrush Expertise: Where Protection Meets Perfection

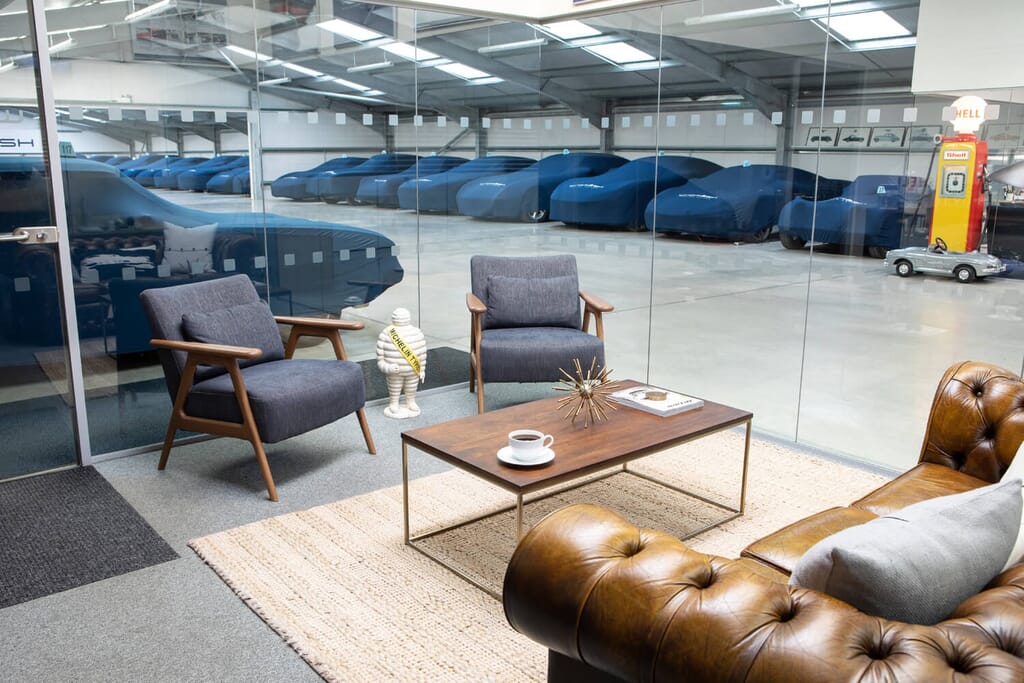
Professional winter car storage eliminates the variables and concerns inherent in home storage. At Windrush, our climate-controlled facilities maintain optimal conditions year-round—stable humidity between 50-60%, consistent temperature, and air circulation without drafts or contamination.
Our preparation protocols follow the same principles outlined in this checklist, but with access to specialist equipment and products. Each vehicle receives individual assessment based on its materials, condition, and specific requirements. Chrome-laden classics receive different attention than carbon-clad supercars, but both benefit from our two decades of refinement in vehicle preservation.
The environment matters as much as preparation. Our purpose-built facilities eliminate the compromises of home storage—no temperature swings, no moisture infiltration, no dust accumulation, no security concerns. Vehicles rest on clean, dry surfaces with adequate spacing. Battery conditioning is standard. Regular monitoring is systematic, not dependent on remembering monthly check-ins.
For clients who store with us, the winter storage checklist becomes our responsibility, executed to exacting standards. Windrush Car Storage represents the ultimate solution for those who refuse to compromise on vehicle care.
Winter car storage done properly isn’t about achieving perfection—it’s about preserving what you already have. Whether you’re protecting original chrome on a classic or cutting-edge carbon fibre on a modern hypercar, the principle remains: meticulous preparation, appropriate products, and proper environment combine to ensure your vehicle emerges from storage in spring exactly as it entered in autumn.
The time invested now—the careful cleaning, the thoughtful product selection, the proper covering and positioning—prevents exponentially more time and expense correcting damage later. For those who view their vehicles as investments, as art, or simply as cherished possessions, there’s no substitute for doing winter storage correctly.